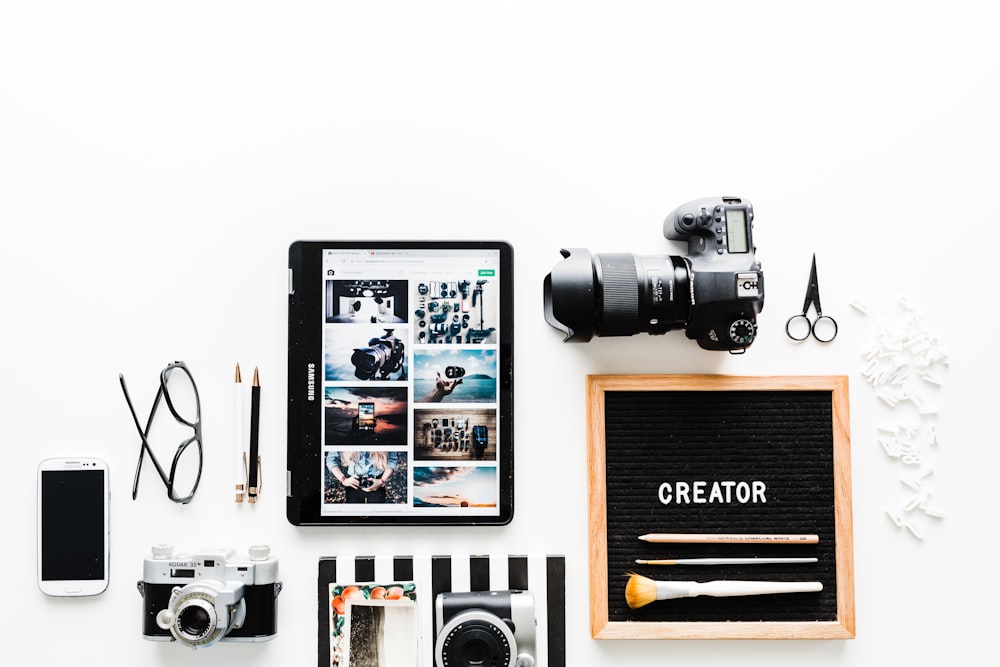
Hawaii Website Design – How to Have High-Quality Photos for Your Website
When it comes to a business website, high-quality visual content is extremely important. This will help your brand stand out among others. Aside from that, you are also creating a credible and professional image for your business. Whether you are collaborating with a designer or doing it yourself, you need to have high-quality photos for your website. Today, I will talk about how you can obtain high-quality visual content for your business website.
Do I Have to Hire a Professional Photographer to Take Photos for My Website?
The answer is no. You don’t really have to hire a professional photographer. However, if you have a budget for a professional photographer, you can consider hiring one. When you have a professional photographer, you are assured with high-quality pictures for your website. Remember, professional photographers can get extremely expensive. If you don’t want to spend a lot on a professional photographer, you can try to post a job listing to hire someone for a more reasonable rate.
On the other hand, there isn’t enough budget (or no budget at all) to hire a photographer. When you are just starting your business, you tend to have lots of other expenses. But fear not! You can still get high-quality photos for your website without having to spend at all.
Moving on, you don’t have to hire a professional photographer as you can actually take the photos yourself. This will help you save money and you have complete control over your content. Here are some tips you can follow to have high-quality photos for your website:
1. Rule of Thirds
The “rule of thirds” is a basic composition rule in taking professional looking photos. To follow this rule, you must imagine breaking an image down into thirds both horizontally and vertically. As a result, you will have 9 parts like in a tic-tac-toe board. You should place the most interesting or eye-catching part of your subject on the intersection of those lines. In this way, your photo becomes more balanced.
2. Focus on the Subject
Professional looking images require the subject to be in focus. Make sure you are close enough but not too close to the point where the photo cannot be cropped later on. When you are using a smartphone, you should be able to tap on the screen to lock focus. By focusing on the subject, your photos will look more appealing.
3. Have the Proper Resolution
The resolution of your images should be high enough so that it will look good regardless if it’s viewed on a large or small screen. A good standard to follow is 72dpi. If you are using a smartphone, don’t crop or resize the original image because the standard size of a smartphone image is usually fine. On the other hand, if you are using a professional camera, there might be a need to resize it.
4. Use Editing Tools
If you are not satisfied with the photos you’ve taken, you can always edit them. Keep in mind that when you edit your images, it’s best to make minor adjustments only. You can adjust the light and exposure without having to add filters. Speaking of filters, try not to use filters at all. If you are using a smartphone, you can try out editing applications such as Picsart, Snapseed, and/or VSCO.
Hopefully these tips will help you in having high-quality photos for your website. If you are interested, I also wrote about DIY Product Photography Tips. Next, I will discuss about what to put on a website.